-
Language
- Deutsch
- English
Step 1
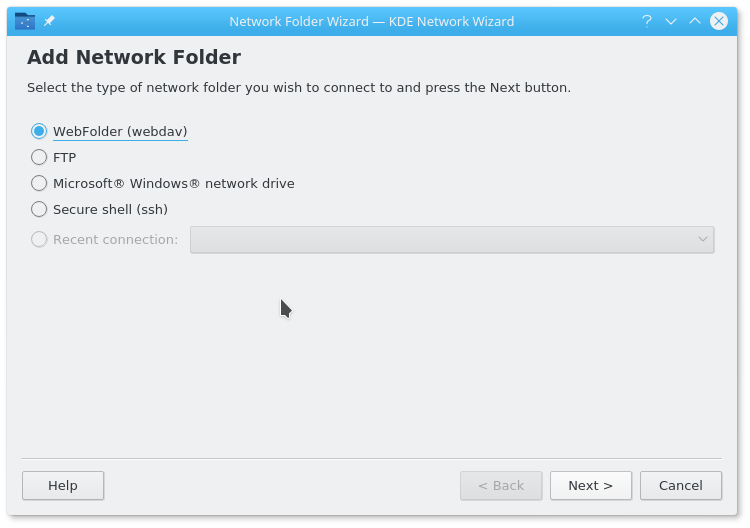
To connect your stoney storage folder via Webdav, is only possible, when you want to connect 1 single user. If you want to access more than one user, please install the Nextcloud Client.
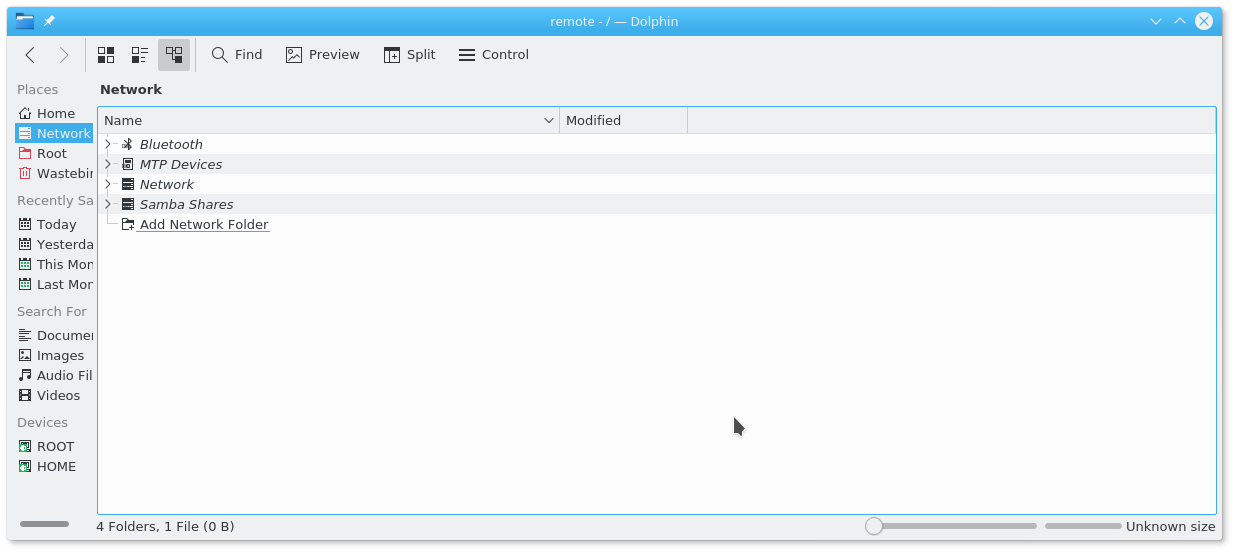
Open your document index and click on "Network" followed by "Add Network Folder".
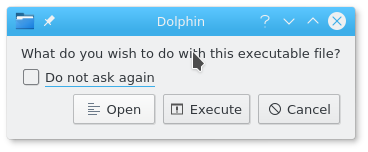
If required enter "Execute" to execute the programme.
Step 3
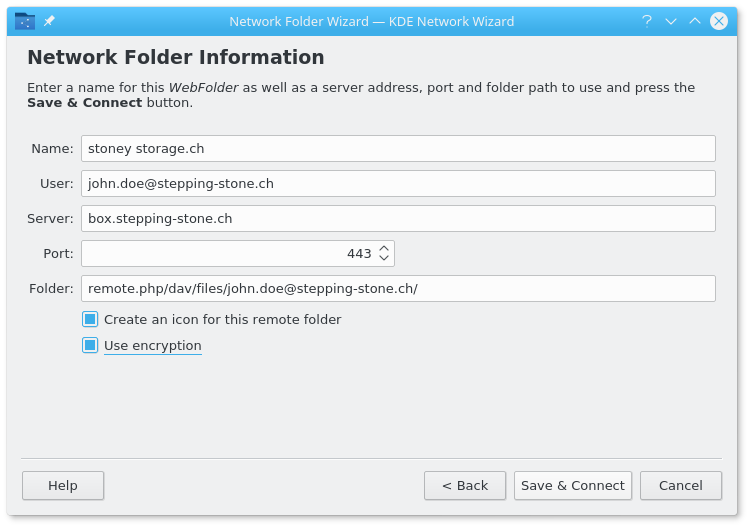
Enter the name you would like to give your folder, for example "stoney storage".
For "User" enter the user name you have received from us.
Add for "Server" the server name you have received.
For example:
box.stepping-stone.ch
or
3731234.stoney-storage.com
For "Folder" add following URL. Change "USER"with your user name.
remote.php/dav/files/USER/
For example:
remote.php/dav/files/john.doe@stepping-stone.ch/
Select "Use encryption". The port will automatically change to "443".
Press "Save & Connect" to finalize your settings.
Step 4
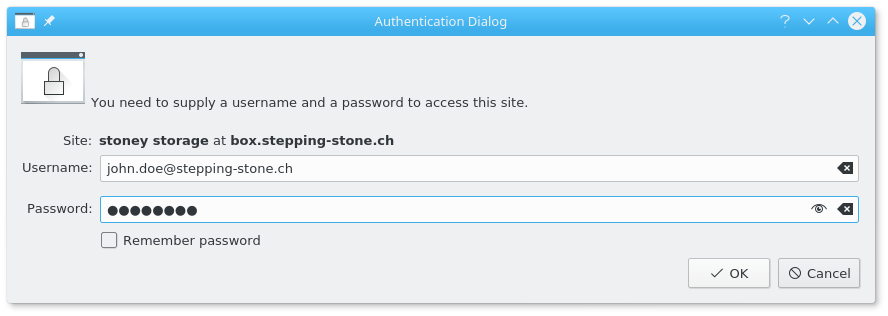
In the "Authentication Dialog" add your "user name" and "Password", which you have received.
Select "Remember password", so it will be remembered.
Press "Next" to continue.

Step 6
Your folder is connected and can be found under "Network".
When you prefer, you can add your folder to the register with a right mouse click on your folder and click ¨Add to places".
Thank you for using stoney storage.