-
Language
- Deutsch
- English
Create group
It makes sense to create a group if you want to add (new) employees later on, without adding the (new) user to each individual folder or file.
Step 1
To create groups, you must be a member of the "admin" group.
Open the "User" menu in this function.
Step 2
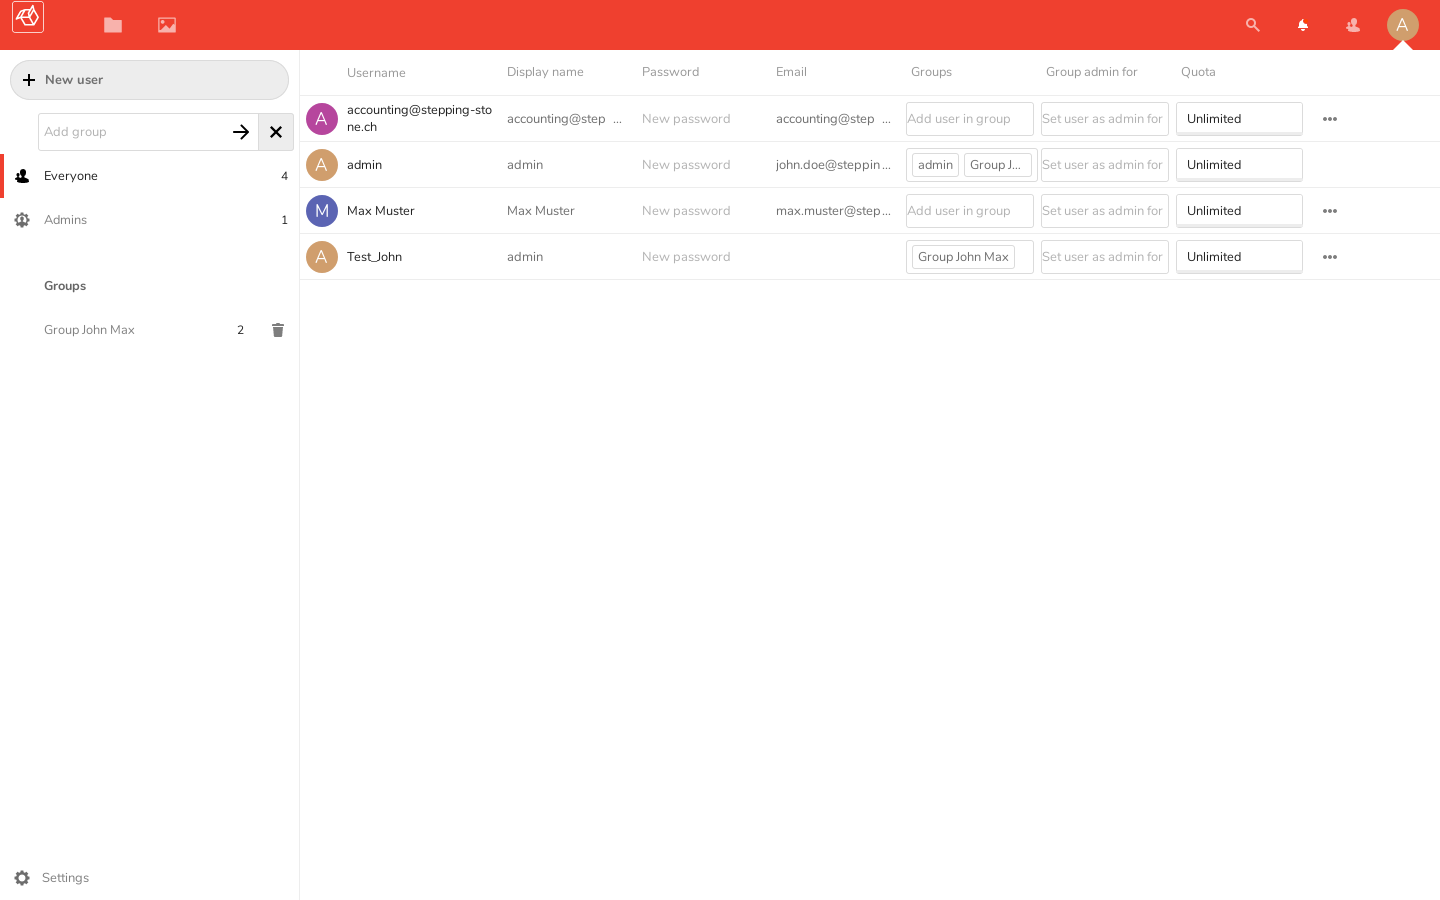
Click "Add Group" to create a group.
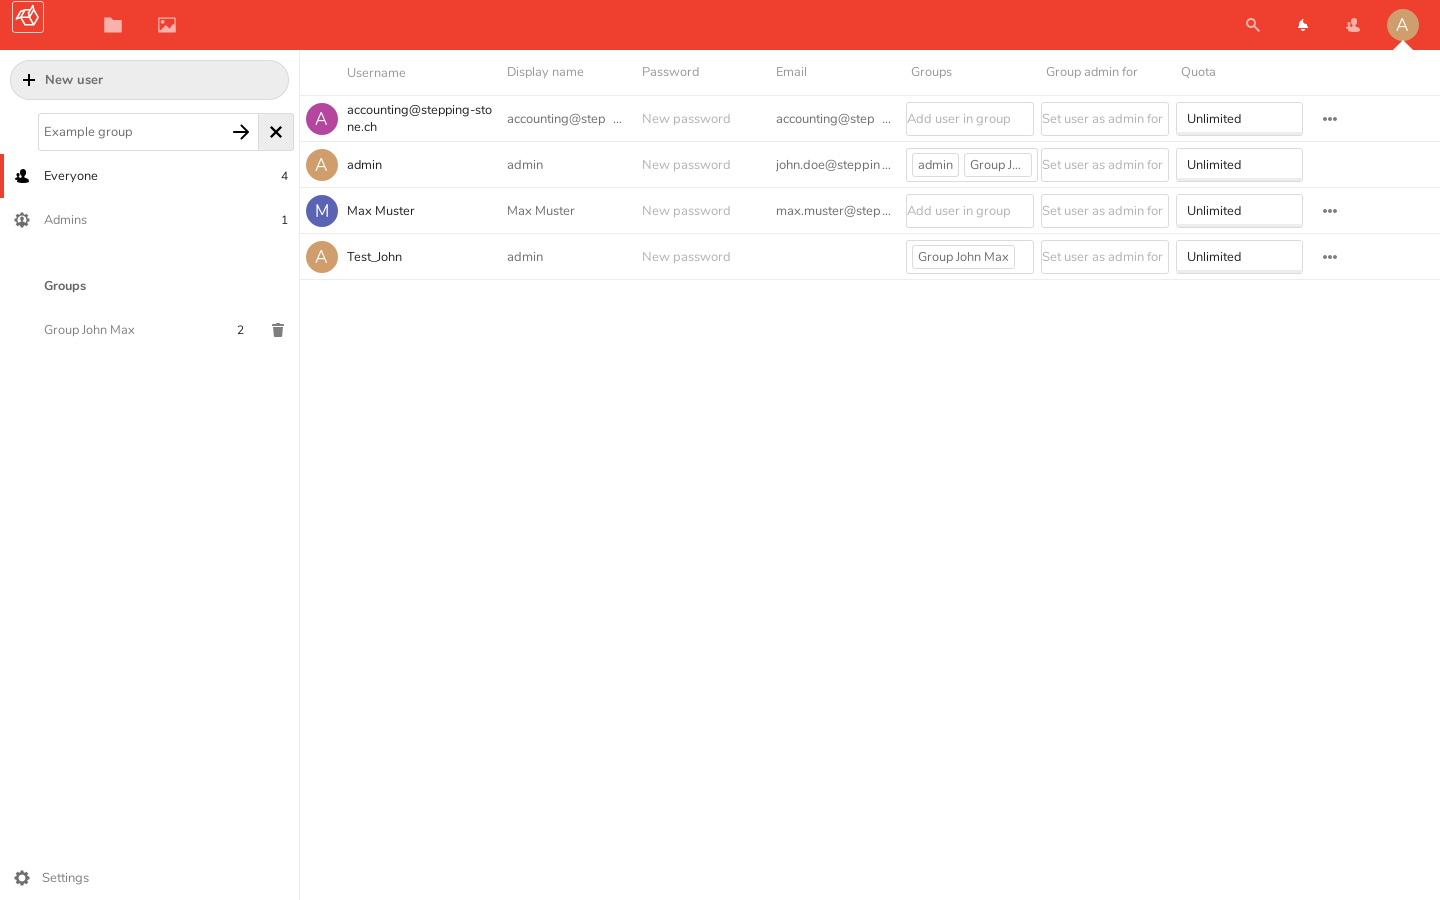
Enter the name of the group and click the arrow to create the group.
Step 3
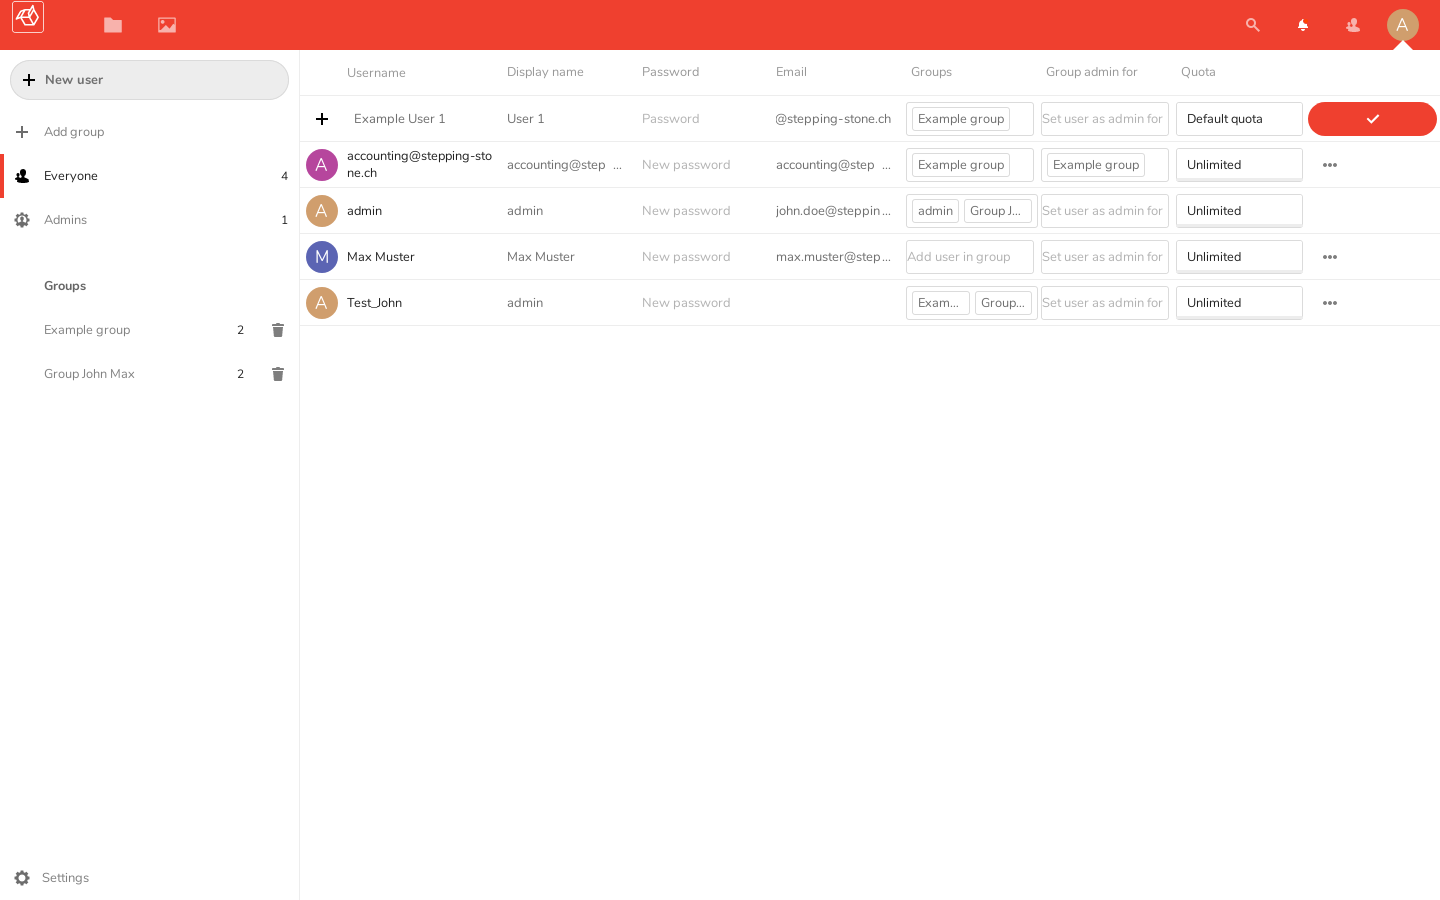
Now you can add the group to an user by selecting the desired group under "Groups" as shown in "Example User 1".
Step 4
In order to be able to set the rights of the group, a group administrator must be specified by selecting the group from the corresponding users under "Group administrator for", as here in the "Example user 1" is shown.
Step 5
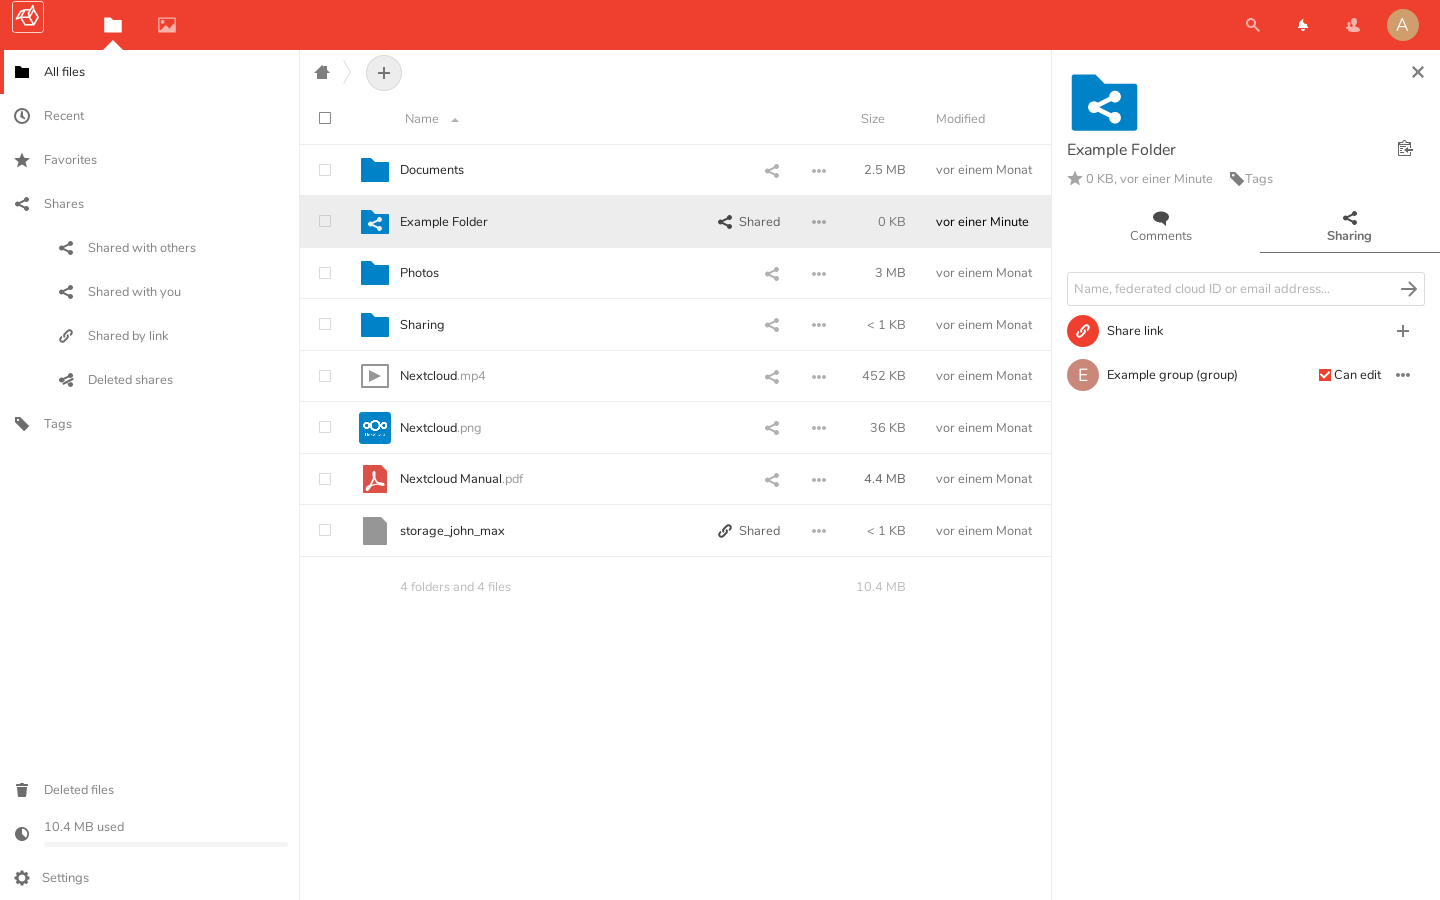
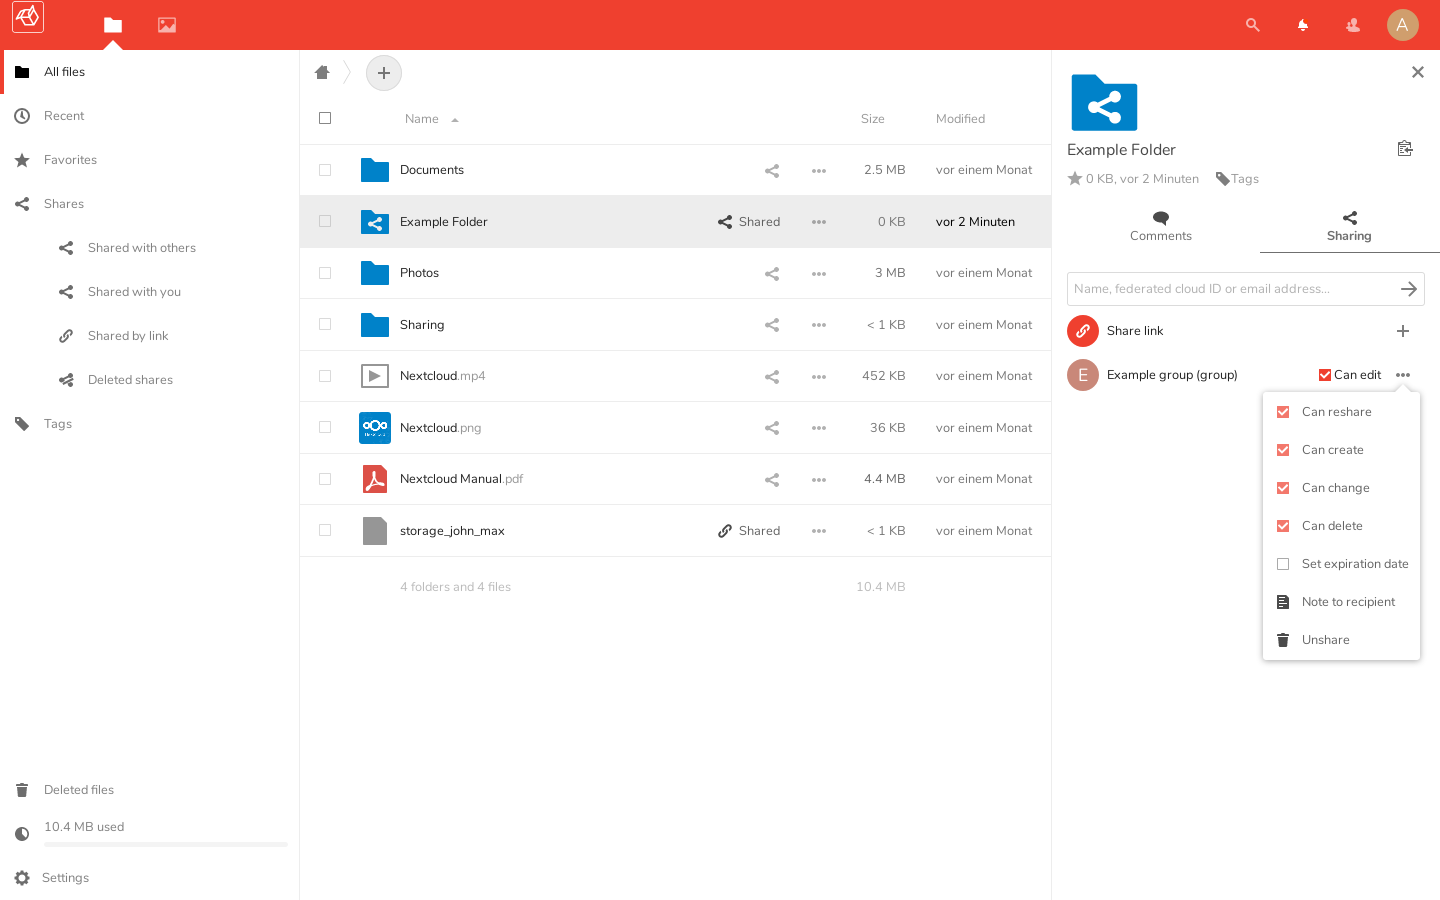
Files and documents can now be shared with a group by selecting the group within the options.